Adding custom fonts to your Pressmaster project allows you to maintain brand consistency and create a unique look for your content. Follow this guide to upload your custom fonts and make them available in your CMS account.
Access the Styling Section:
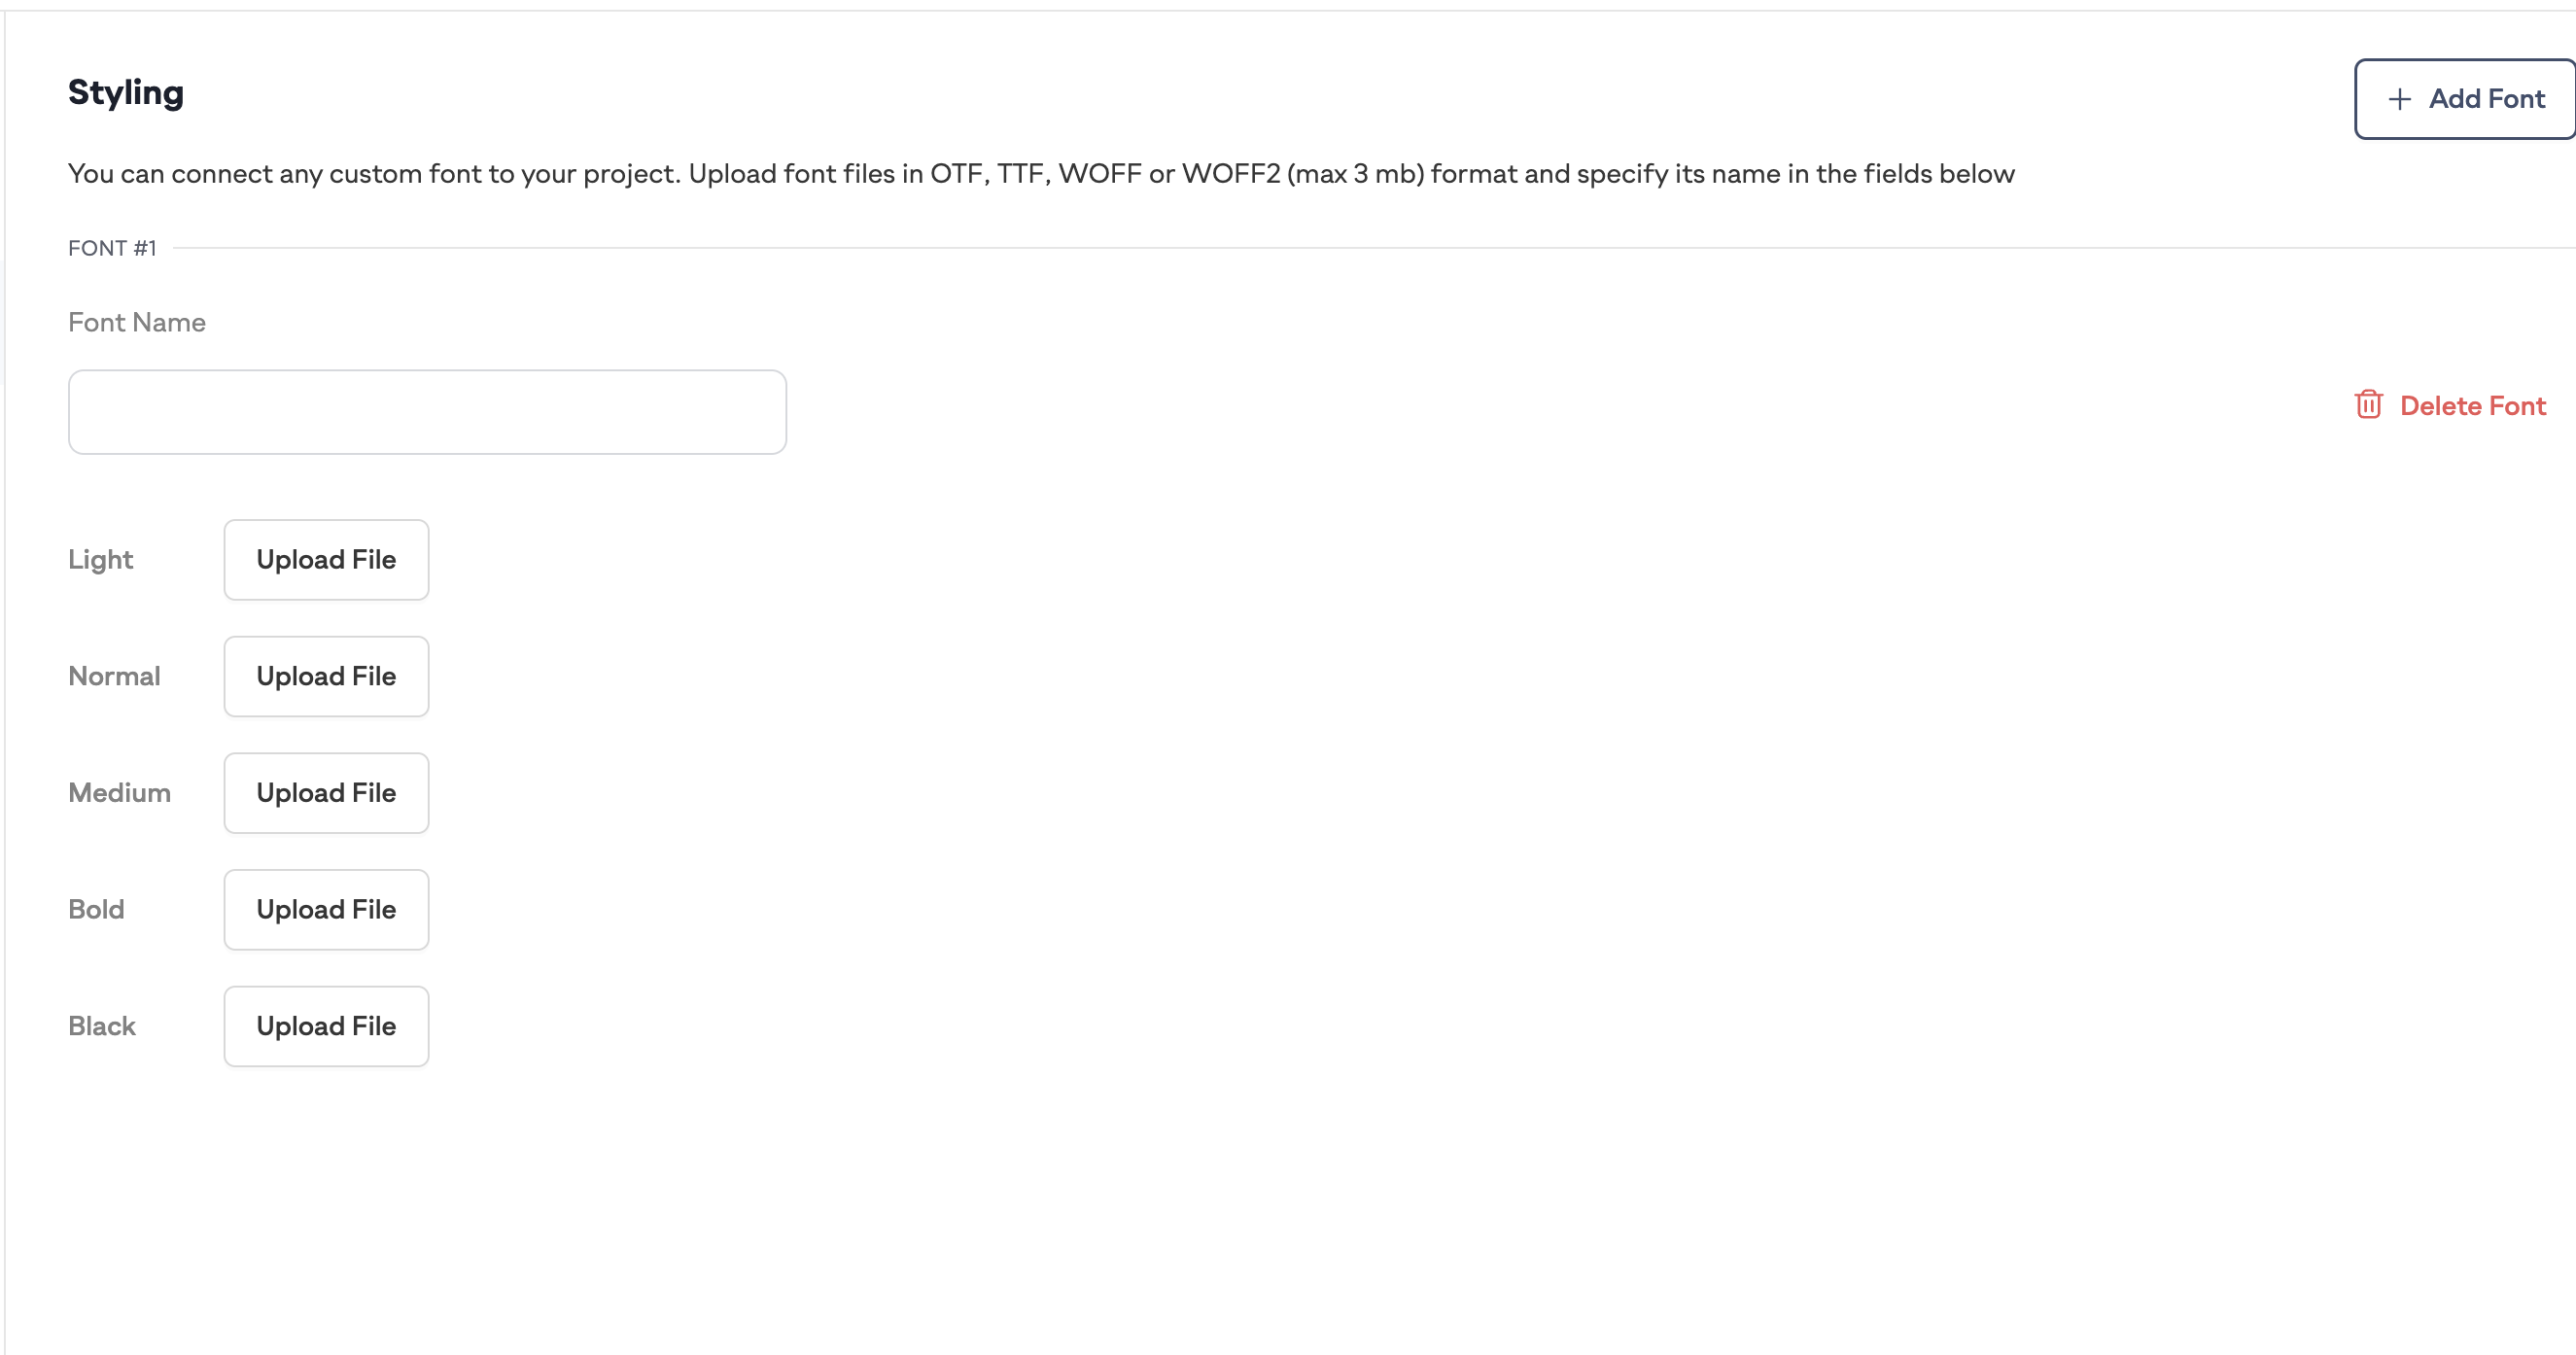
Navigate to the "Styling" section within your Newsroom settings.
Add a New Font:
Click on the “+ Add Font” button to begin the process of adding a new custom font.
Name Your Font:
In the "Font Name" field, enter a name for your font. This helps you identify the font within your CMS.
Upload Font Files:
For each weight and style of the font you want to upload (e.g., Light, Normal, Medium, Bold, Black), click on the corresponding "Upload File" button.
Select the appropriate font file from your computer. Pressmaster supports OTF, TTF, WOFF, or WOFF2 formats, with a maximum file size of 3 MB.
File Types and Naming:
Ensure you have the correct file format for each weight and style.
The naming convention for each file should be consistent to avoid confusion.
If you are uploading a font named "CustomFont", your configuration might look like this:
Font Name: CustomFont
Light: Upload CustomFont-Light.ttf
Normal: Upload CustomFont-Regular.ttf
Medium: Upload CustomFont-Medium.ttf
Bold: Upload CustomFont-Bold.ttf
Black: Upload CustomFont-Black.ttf
Save Changes: Once you have uploaded all necessary font files, ensure you save the changes.
Apply in CMS: After saving, the custom fonts will be available in your CMS. You can then apply these fonts to various elements of your content through the CMS interface.
If you need any assistance during this process, please contact our support team at support@pressmaster.ai.^
