To connect Webflow to Pressmaster, follow these steps:
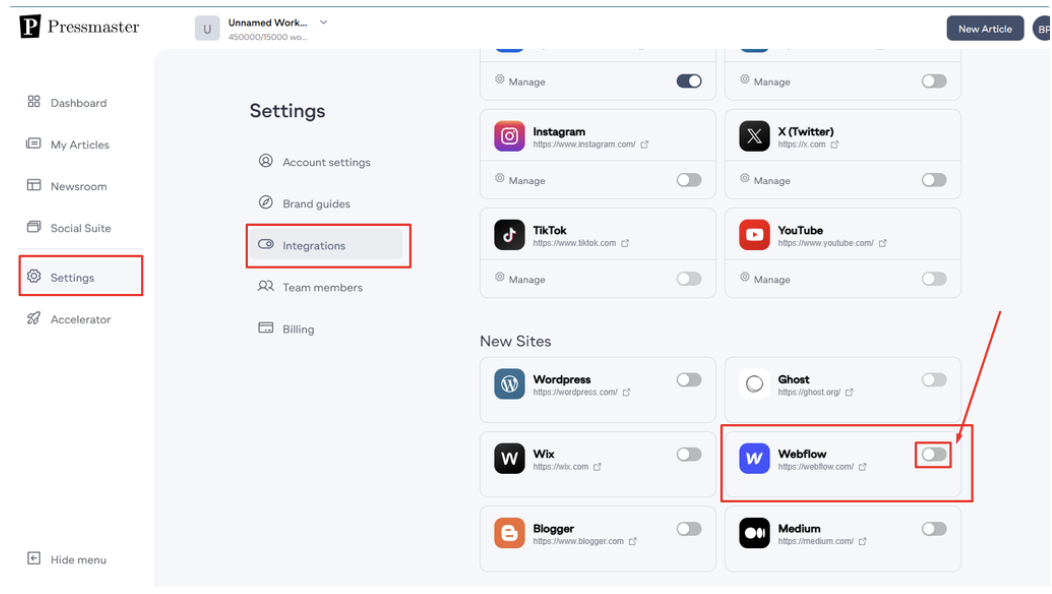
Go to Pressmaster Settings → Integrations and toggle the switch on the Webflow card.
The system will redirect you to the Webflow authentication page. Log in to your Webflow account.
Choose the website/workspace you want to connect and click Authorize App.
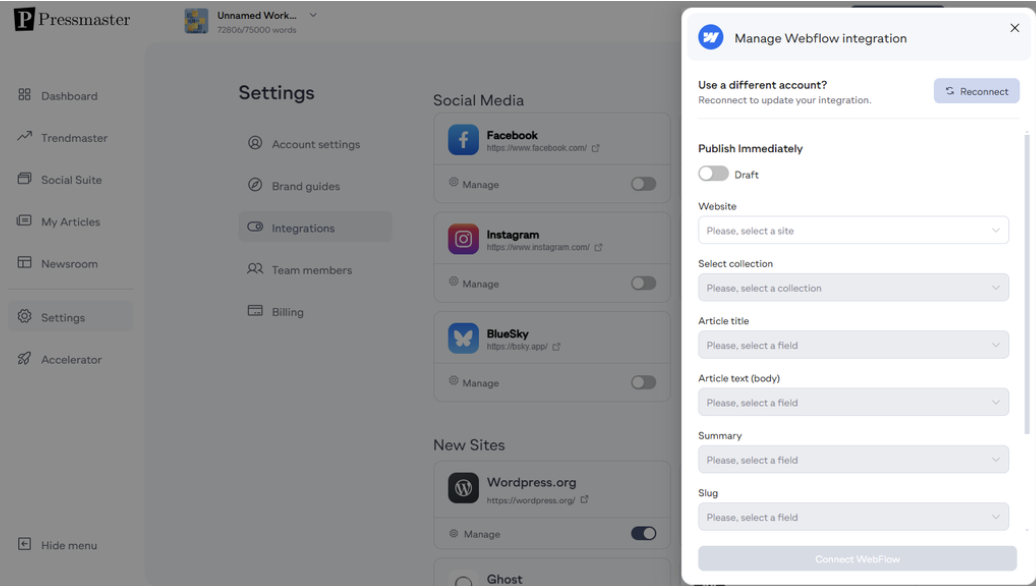
After successful authentication, you’ll be redirected back to Pressmaster, where the Manage Webflow Integration window will appear.
After successful authentication, the system will redirect you back to Pressmaster, where the Manage Webflow Integration window will be displayed.
Choose the Article Status:
Publish → Articles will be published automatically.
Draft → Articles will be saved as drafts for later review.
Select the website from your Webflow account (required).
Choose the Collection field where you want to publish your article.
Map the following fields to ensure correct article placement:
Article Title → Select the field where the title should be stored.
Article Text → Choose the field for the article’s main content.
Summary → Define where the article summary should be placed.
Slug → Select the field where the article’s URL slug should be stored.
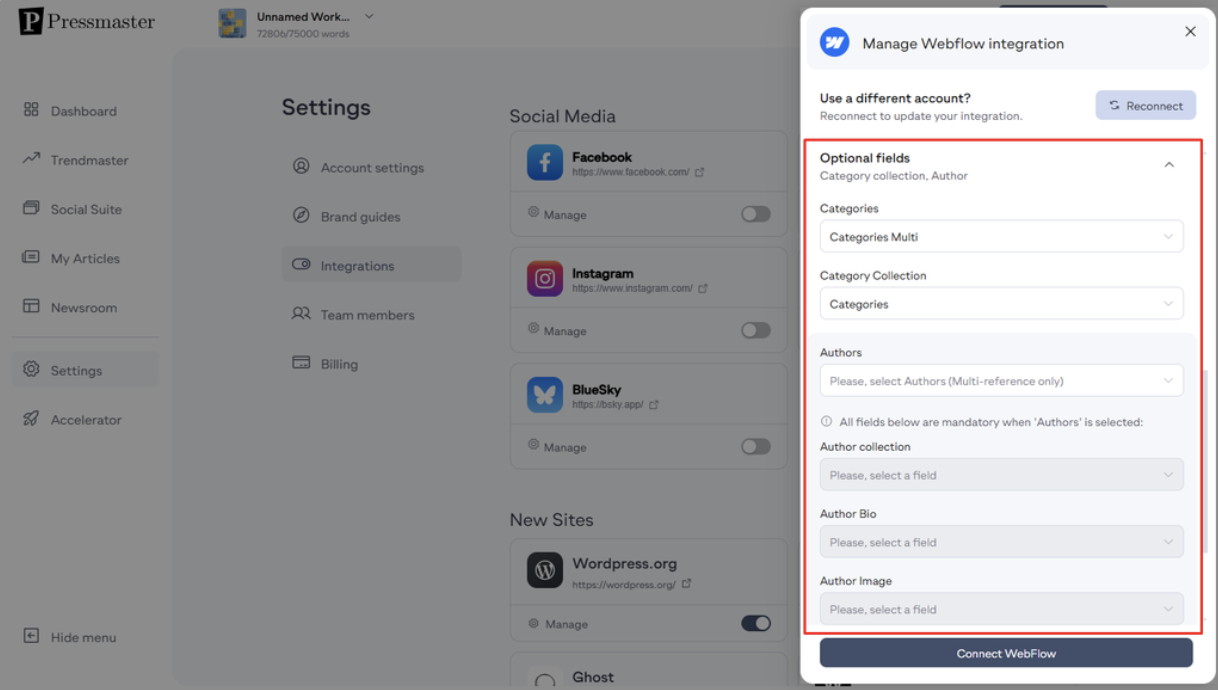
Image → Choose the field for the article’s featured image.
Categories → Select the category field for your articles.
Categories Collection Field → Assign categories for better organization.
Author Fields:
Author Collection Field
Author Bio
Author Image
Author Email
Author Name
Finalizing the Setup
Once you’ve configured your settings, click the Connect Webflow button to save your preferences.
The system will confirm the integration with a success message.
You can now create and publish articles directly to Webflow, where they will be stored in Webflow CMS Collections.
If you need any assistance, feel free to reach out via support chat or email us at support@pressmaster.ai. We're here to help!
